Article language: English
How to Start a Holiday Light Installation Business: The Complete Beginner’s Guide
Learn how to start a holiday light installation business, choose equipment, price Christmas light jobs, find customers, work safely, and build repeat seasonal work.
Updated: August 2026 · Estimated reading time: 20 minutes
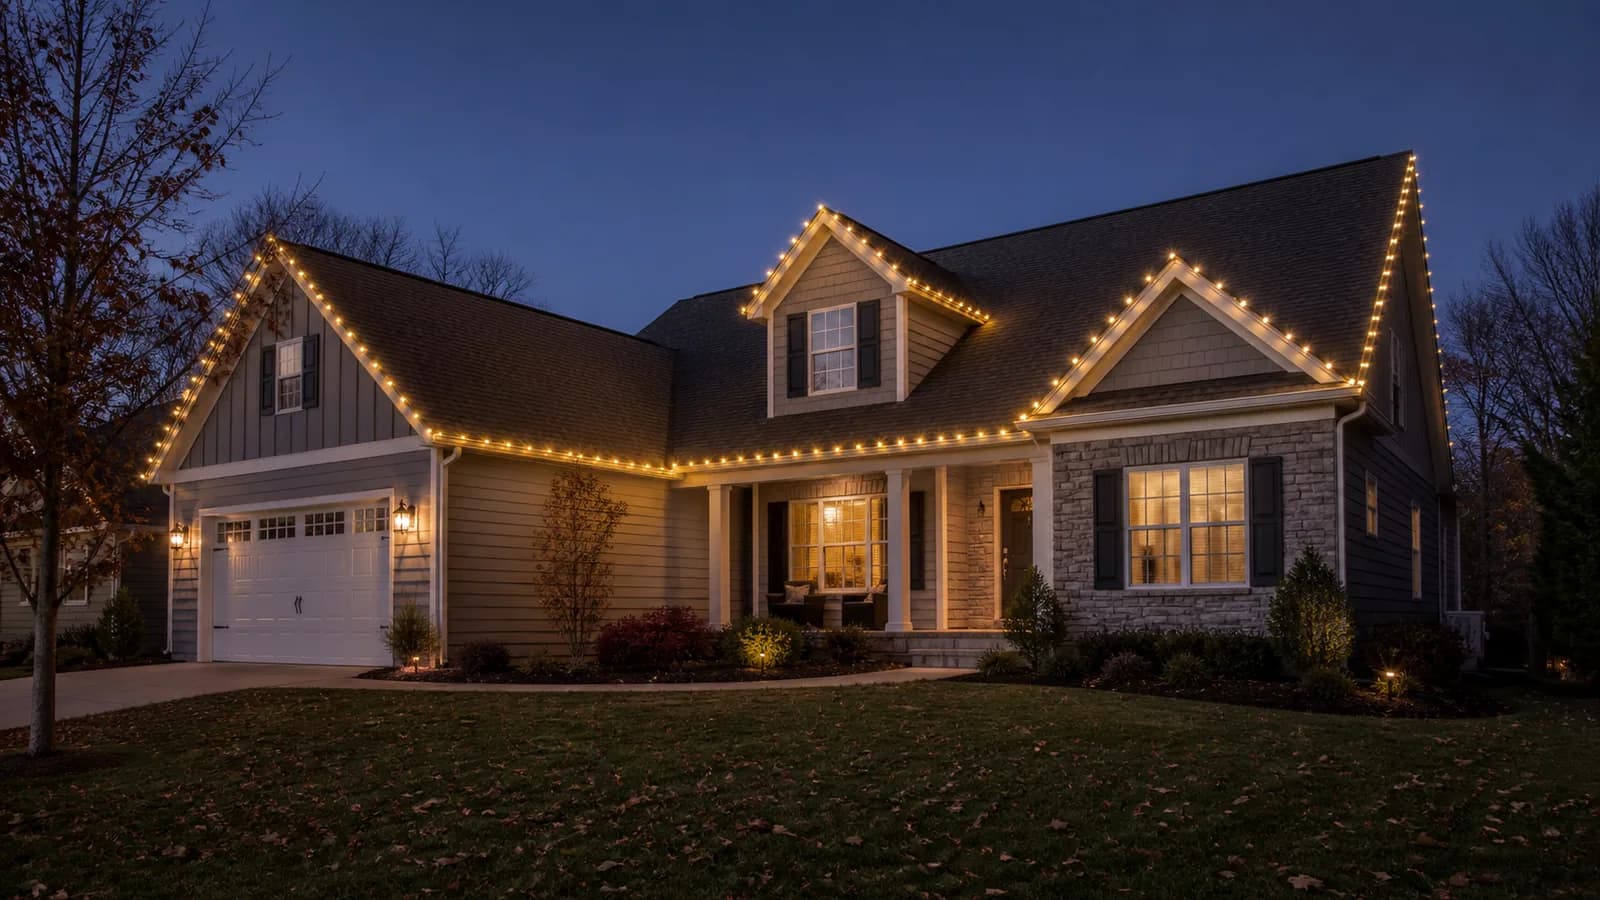
A holiday light installation business can turn a short fall and winter window into useful seasonal work. You can start with weekend jobs, run it as a solo business, or add it to lawn care, landscaping, gutter cleaning, pressure washing, or handyman work.
The service is easy for homeowners to understand: you design or follow a display, install the lights, handle problems during the season, and come back for takedown. The hard part is fitting a lot of ladder work, weather delays, and customer requests into a few busy weeks.
This guide explains the equipment, pricing, safety, scheduling, and repeat-customer systems behind a practical residential holiday lighting business.
Table of Contents
- Is holiday light installation a good business?
- What holiday lighting services can you offer?
- Should you supply the lights or install customer-owned lights?
- Equipment and startup costs
- Basic ladder, roof, and electrical safety
- Setting up the business
- How much should you charge for Christmas light installation?
- How to estimate a holiday light job
- How much can a holiday light installation business make?
- How to find your first customers
- How to do the job the right way
- Scheduling the holiday rush
- Takedown, storage, and next-year reinstallation
- Working alone or with a small crew
- Getting repeat customers
- Staying organized with Shookio
- Common mistakes
- Holiday light installation startup checklist
- Frequently asked questions
- Final thoughts
1. Is Holiday Light Installation a Good Business?
Holiday lighting can be a good seasonal business when you price the full service, stay close to home, and avoid properties beyond your equipment or training.
Demand is concentrated. Many customers want lights installed between late October and early December, then removed soon after the holidays. That short window can create higher-value residential jobs, but it also means a week of bad weather can disrupt a large part of your schedule.
Repeat work is one of the strongest parts of the business. If you save the design, measurements, materials, timer settings, and access notes, the second season should require less selling and planning. Customers who already trust you for gutter cleaning or leaf removal are natural people to ask.
The work can fit a weekend schedule at first. A lawn care or landscaping company can also use it when mowing slows down. You do not need a storefront, but you do need safe ladders, a reliable vehicle, storage space, insurance that covers the actual work, and enough cash for materials if you supply the lights.
| Good things about the business | Things to watch out for |
|---|---|
| Can start part time | Ladder, roof, and fall hazards |
| Residential jobs can have a solid ticket price | A short selling and installation season |
| Customers may return every year | Wind, rain, ice, and early darkness |
| Works with other outdoor services | Service calls and callbacks |
| Simple finished work is easy to photograph | Storage and labeling take space |
| Route density can make days efficient | One unsafe or complex house can consume a day |
The best first properties are usually simple one-story homes with firm, level ladder access and a clear front roofline. A three-story home with steep peaks, overhead lines, wet landscaping, or no safe setup area is a different kind of job.
2. What Holiday Lighting Services Can You Offer?
Keep your first service list narrow. A clean roofline and a few ground-level features are easier to estimate and repeat than a complicated whole-property display.
Common residential services
You may offer lighting for:
- Front rooflines, gutters, and eaves
- Small peaks and gables
- Shrubs and small trees
- Porch columns and railings
- Walkways and driveway edges
- Wreaths and garland
You can also charge for design, in-season maintenance, takedown, storage, and next-year reinstallation. Spell out what is included.
Simple installation or full service
A simple Christmas light hanging business may install lights the homeowner already owns, test them, set a timer, and return for takedown. The homeowner chooses the product and usually remains responsible for replacement lights.
A full-service holiday lighting business may design the display, supply commercial-grade materials, custom-fit roofline lighting, handle service calls, remove everything, label it, store it, and reinstall it next year. This model needs more inventory, working cash, organization, and clear terms about who owns the lights.
Commercial storefronts can be an eventual expansion, but they bring public walkways, access equipment, tighter deadlines, and different insurance or code questions. Learn on manageable homes first.
3. Should You Supply the Lights or Install Customer-Owned Lights?
There are two workable models. Neither is automatically right for every new company.
A. Customer-owned lights
The customer buys and owns the lights, cords, decorations, and timer. You provide labor and basic installation supplies.
Advantages:
- Less money tied up in inventory
- Lower startup cost
- Easier way to test demand
- Customer makes the product choices
Disadvantages:
- Mixed brands, colors, wire lengths, and bulb spacing
- Old or damaged strands may fail after installation
- Retail sets may not fit the roofline cleanly
- More time spent untangling, testing, and explaining problems
- Harder to promise a uniform appearance or quick repair
State in writing what happens when customer-owned lights do not work. Your labor price should still cover testing, setup, takedown, travel, and any return visit you agree to provide.
B. Contractor-supplied commercial-grade lighting
You choose the lighting system and bring matching bulbs, socket wire, clips, cords, timers, and spares.
Advantages:
- Greater control over quality, fit, spacing, and color
- Cleaner custom rooflines
- Faster repairs with known replacement parts
- Easier to reproduce the design next season
- A more consistent customer experience
Disadvantages:
- More money required before or during the first season
- Inventory must be tested, tracked, and stored
- You carry the risk of damaged or unused product
- Agreements must clearly state ownership and replacement terms
Some installers sell the lights. Others retain ownership and include them in a seasonal package. Get qualified local advice about ownership, deposits, warranties, and recurring terms.
Shookio Pro Tip: Pick one standard roofline system and a small color selection at first. Too many bulb styles, wire colors, and clip types make ordering, repairs, and storage harder.
4. Equipment and Startup Costs
Holiday light installation equipment should match the homes you plan to serve. Do not buy a 32-foot ladder or a trailer merely because a future job might need one.
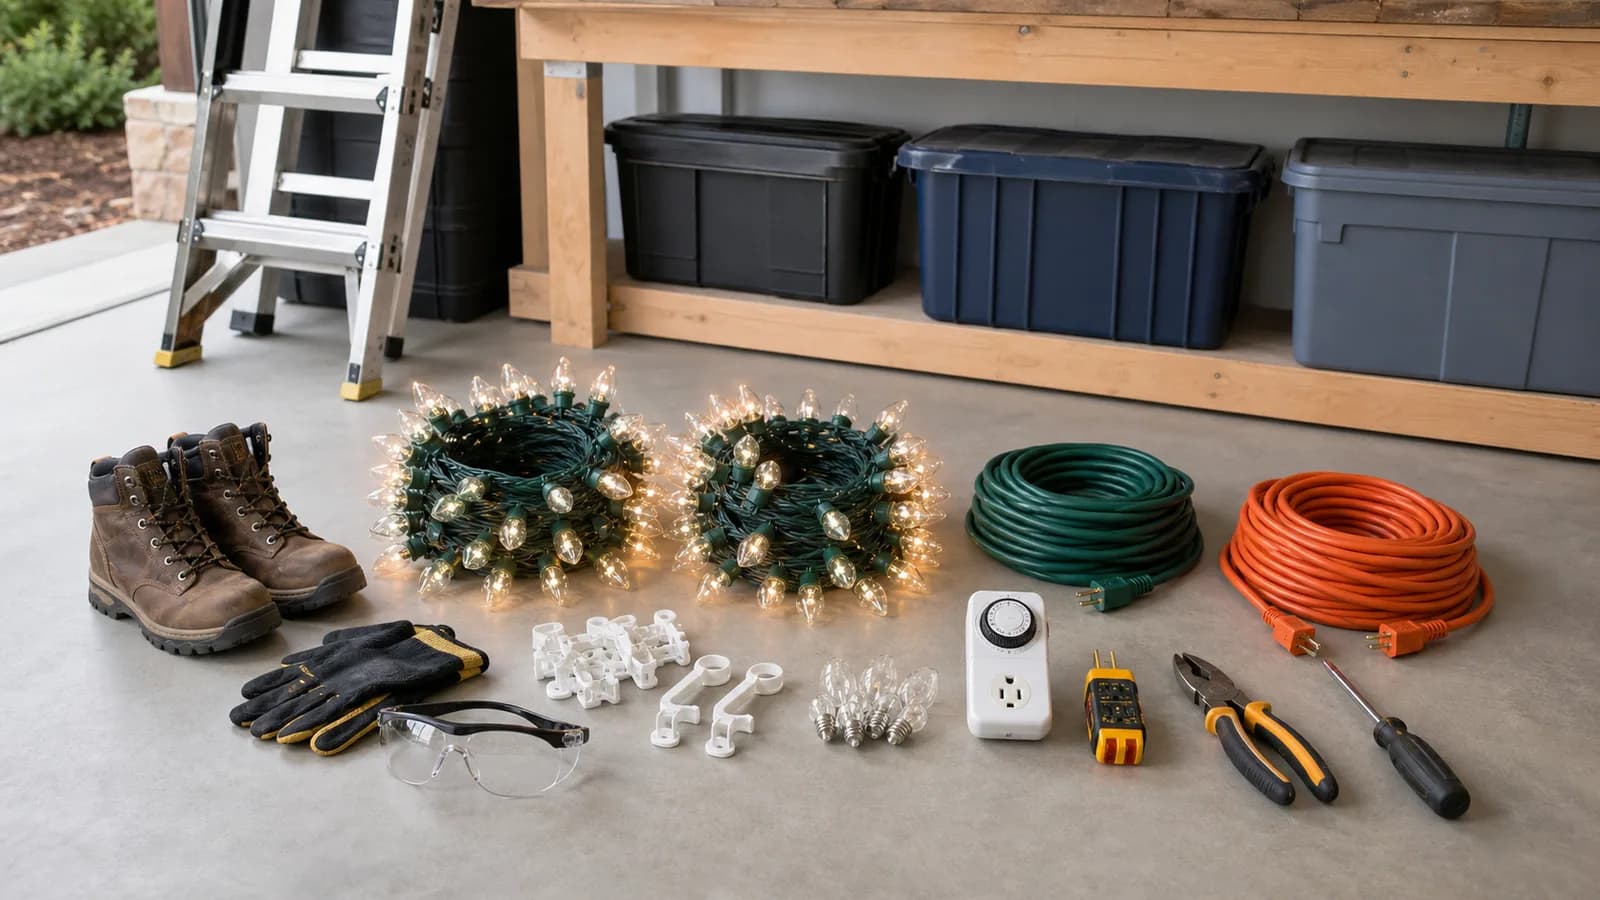
These are broad U.S. examples researched in August 2026. Prices vary by brand, rating, quantity, and location.
| Equipment | What it is for | Example cost |
|---|---|---|
| Extension or combination ladder | Reaching residential eaves | $250–$700 |
| Step ladder | Columns, porches, and lower work | $100–$300 |
| Ladder stabilizer | Stable contact while protecting gutters or siding | $55–$120 |
| Lighting clips and fasteners | Attaching lights without unsafe improvised methods | $20–$150 per starter supply |
| Commercial LED bulbs and stringers | Custom roofline lighting | About $0.75–$2.50 per foot, depending on system |
| Outdoor-rated extension cords and splitters | Carrying power to approved connection points | $15–$60 per run |
| Outdoor timer | Controlling daily on/off times | $15–$80 |
| Receptacle or electrical testing tool | Basic pre-installation checks within your training | $15–$60 |
| Replacement bulbs, fuses, and clips | Service calls and breakage | $25–$150 starter stock |
| Wire cutters and hand tools | Preparing compatible products as manufacturers allow | $30–$150 |
| Storage totes and labels | Keeping each property organized | $10–$40 per tote |
| Gloves and safety glasses | Basic hand and eye protection | $25–$70 |
| Slip-resistant work boots | Secure footing on the ground and ladder | $100–$250 |
| Fall-protection equipment and training | Jobs where a qualified safety plan requires it | $250–$1,000+ |
| Ladder rack, vehicle, or trailer upgrades | Safe material and ladder transport | Varies widely |
Never treat fall-protection gear as permission to take a roof job you do not understand. The correct system, anchor, inspection, rescue planning, and training depend on the work. Get professional training before relying on that equipment.
Example startup budgets
| Expense | Lean customer-owned-light setup | Contractor-supplied starter setup |
|---|---|---|
| Registration and local fees | $50–$500+ | $50–$500+ |
| Initial insurance payment | $150–$750+ | $150–$750+ |
| Ladders and stabilizer | $350–$1,000 | $350–$1,000 |
| Safety gear and hand tools | $175–$500 | $250–$800 |
| Cords, timers, clips, and testing supplies | $150–$450 | $400–$1,200 |
| Starter light inventory | Customer supplied | $800–$3,000+ |
| Totes and labels | $50–$150 | $150–$500 |
| Basic marketing and operating reserve | $150–$500 | $300–$1,000 |
| Example total | $1,075–$3,850+ | $2,300–$8,750+ |
Existing ladders, tools, storage, and a safe vehicle setup may lower the total. Get actual quotes before setting your budget.
5. Basic Ladder, Roof, and Electrical Safety
Ladder and electrical hazards are not side issues in this business. They are part of every estimate and every schedule.
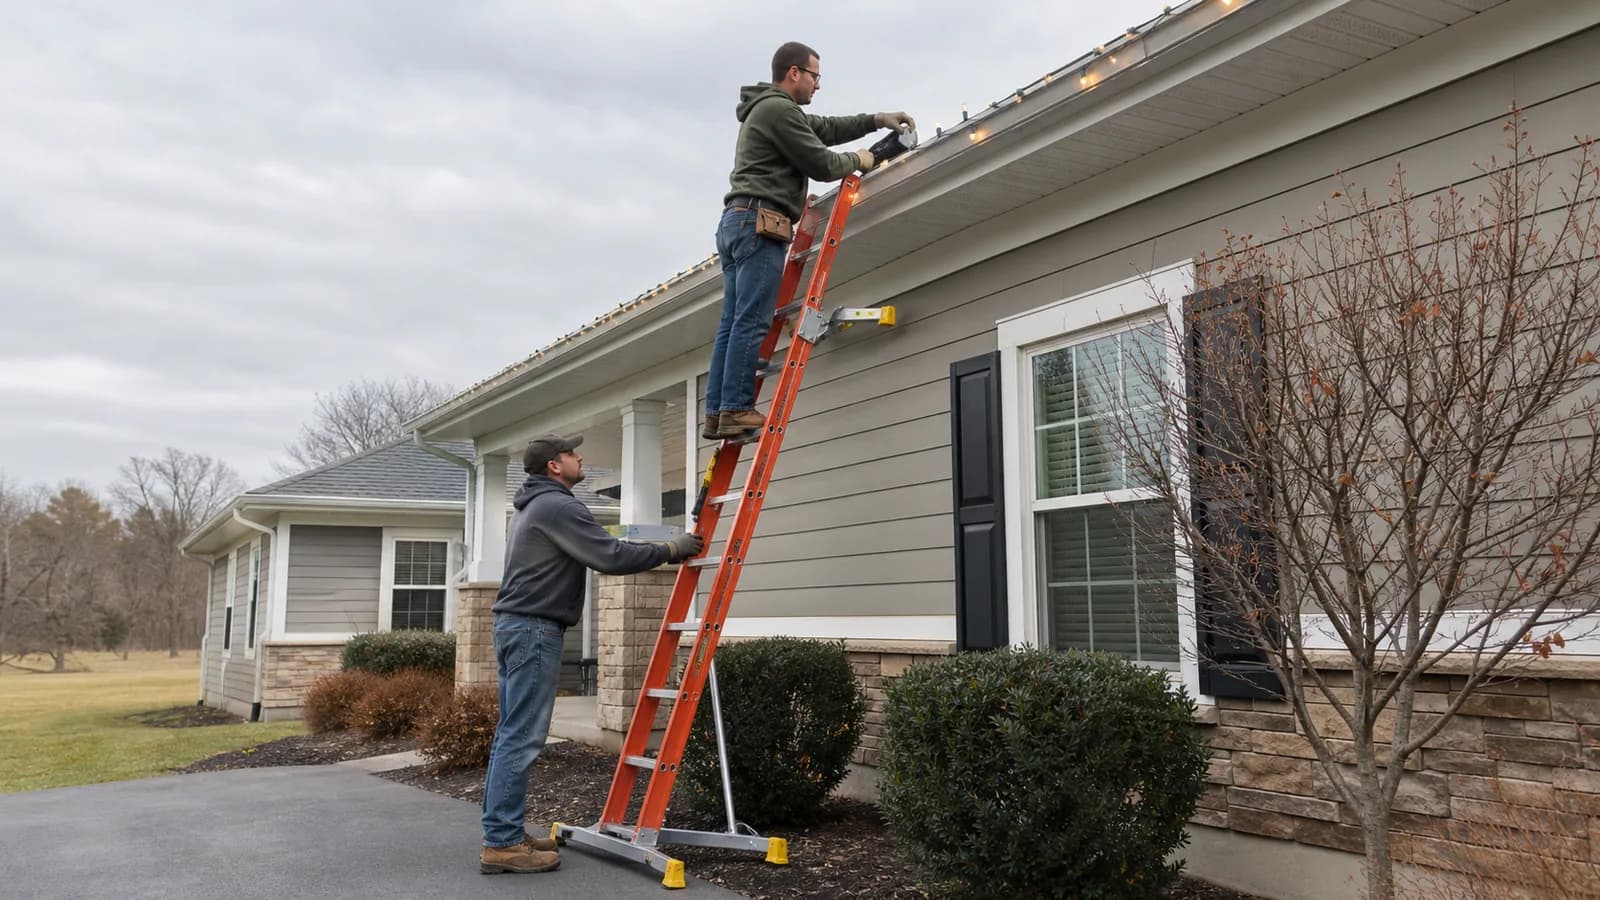
Inspect ladders before use and remove damaged equipment from service. Use a ladder that is long enough and rated for the worker, tools, and materials. Set it on stable, level footing, keep the top and bottom clear, and follow the angle, overlap, locking, and highest-standing-level instructions on its labels. Move the ladder instead of leaning sideways.
Read OSHA's ladder-safety guidance and the instructions for each ladder. Employers also need to follow workplace-safety rules that apply to their crews and work.
Weather and site conditions
Do not work when wind, rain, lightning, snow, ice, poor visibility, mud, or frozen ground makes the setup unsafe. Morning frost and wet leaves can be easy to miss. Reschedule rather than racing a storm or darkness.
Look for overhead power lines before unloading or raising a ladder. Keep workers, ladders, tools, and materials away from energized lines. OSHA warns that a ladder is not electrically safe simply because of its material. Contact the utility or a qualified professional when the required clearance or condition is unclear.
Avoid walking on roofs when the work can be completed from a properly placed ladder or another suitable access method. Roof pitch, surface condition, height, anchors, fall protection, and rescue planning require real training. Decline any job where you cannot establish a safe method.
Outdoor electrical basics
Use only lights, cords, timers, connectors, and accessories listed and marked for outdoor use. Follow the product's limits for connected sets, wattage, mounting, and temperature. Do not use damaged cords, cracked sockets, missing covers, loose plugs, or products with exposed conductors.
Outdoor holiday lighting should use GFCI-protected outlets. Keep plug connections out of standing water and do not create trip hazards across walkways. Do not overload a circuit, bypass protection, defeat a grounding pin, staple through a cord, or modify an electrical product in a way the manufacturer does not allow.
The Electrical Safety Foundation International's outdoor decoration guidance recommends outdoor-rated products, GFCI protection, and mounting methods that do not damage cord insulation. If a property lacks a suitable outlet or you do not know whether the planned load is safe, stop and refer the customer to a licensed electrician.
Local codes, workplace rules, product instructions, and training may add requirements. Knowing when to decline a job is part of the work.
6. Setting Up the Business
Treat even a weekend Christmas light installation business like a real operation.
- Choose a business name and check whether it is available.
- Register the business or trade name where required.
- Open a separate business bank account.
- Track revenue, materials, mileage, equipment, and other expenses.
- Get insurance quotes that specifically cover holiday lighting, ladders, and any roof work.
- Use written estimates and customer agreements.
- Set money aside and get tax advice for your situation.
The SBA business-registration guide is a useful starting point, but local rules vary. This guide is not legal or tax advice.
Insurance and customer agreements
Tell the insurance agent exactly what you do, including maximum working height, ladder use, roof access, employees, vehicles, storage, and whether you supply the lights. Ask about general liability, commercial auto, tools and inventory, and coverage for injuries to you or helpers.
Workers' compensation requirements vary by jurisdiction and business setup. The SBA's business-insurance overview explains common coverage types, but a licensed local agent should answer questions about your policy.
Your customer agreement should identify the design, materials, price, deposit, ownership of lights, outlet requirements, service-call terms, weather delays, installation window, takedown window, storage, cancellation, and responsibility for hidden or pre-existing damage. Have qualified local counsel review important terms.
7. How Much Should You Charge for Christmas Light Installation?
There is no universal Christmas light installation pricing sheet. A simple one-story front roofline is not the same job as a two-story home with six peaks, wrapped trees, limited access, and contractor-supplied lights.
Common pricing approaches include:
- A fixed project price
- A starting price per linear foot, adjusted for complexity
- A minimum job price
- Separate prices for shrubs, trees, columns, wreaths, and garland
- A package covering installation, maintenance, removal, and storage
Current U.S. consumer cost guides show wide variation. Angi's 2026 guide reports many standard projects around $220–$684, minimums around $150–$300, and roughly $2–$5 per linear foot for some work. HomeGuide's 2026 cost guide gives a broader $5–$12 per-foot range and $250–$1,500 for basic packages. The difference is a good reminder to compare exactly what each price includes.
Planning examples
| Job type | What may be included | Example planning range |
|---|---|---|
| Small one-story roofline | Customer-owned lights, simple access | $250–$500 |
| One-story full front | Supplied roofline lights and a timer | $500–$1,000+ |
| Two-story front with peaks | More ladder moves, materials, and complexity | $750–$1,500+ |
| Roofline plus shrubs or columns | Multiple lighting types and more setup | $900–$2,000+ |
| Large or difficult custom display | Complex design, high access, and more service | Quote after inspection |
These are planning examples, not a price list. Local labor, materials, insurance, season length, and taxes all matter.
What should raise the price?
Consider roof height, linear footage, the number and height of peaks, roof pitch, ladder setup areas, shrubs and trees, outlet locations, cord routes, customer-owned versus supplied lights, design time, installation time, service calls, takedown, storage, travel, and the date requested.
Set a minimum job price that covers communication, travel, unloading, setup, testing, cleanup, and billing. Track your actual labor and material cost after every job. Do not blindly copy a competitor who may include different products, warranties, or removal terms.
Shookio Pro Tip: Price the whole promise, not only the installation hours. If your package includes design, materials, two trips, service calls, and storage, all five belong in the price.
8. How to Estimate a Holiday Light Job
A consistent estimate keeps you from forgetting materials, takedown, or a difficult side of the house.
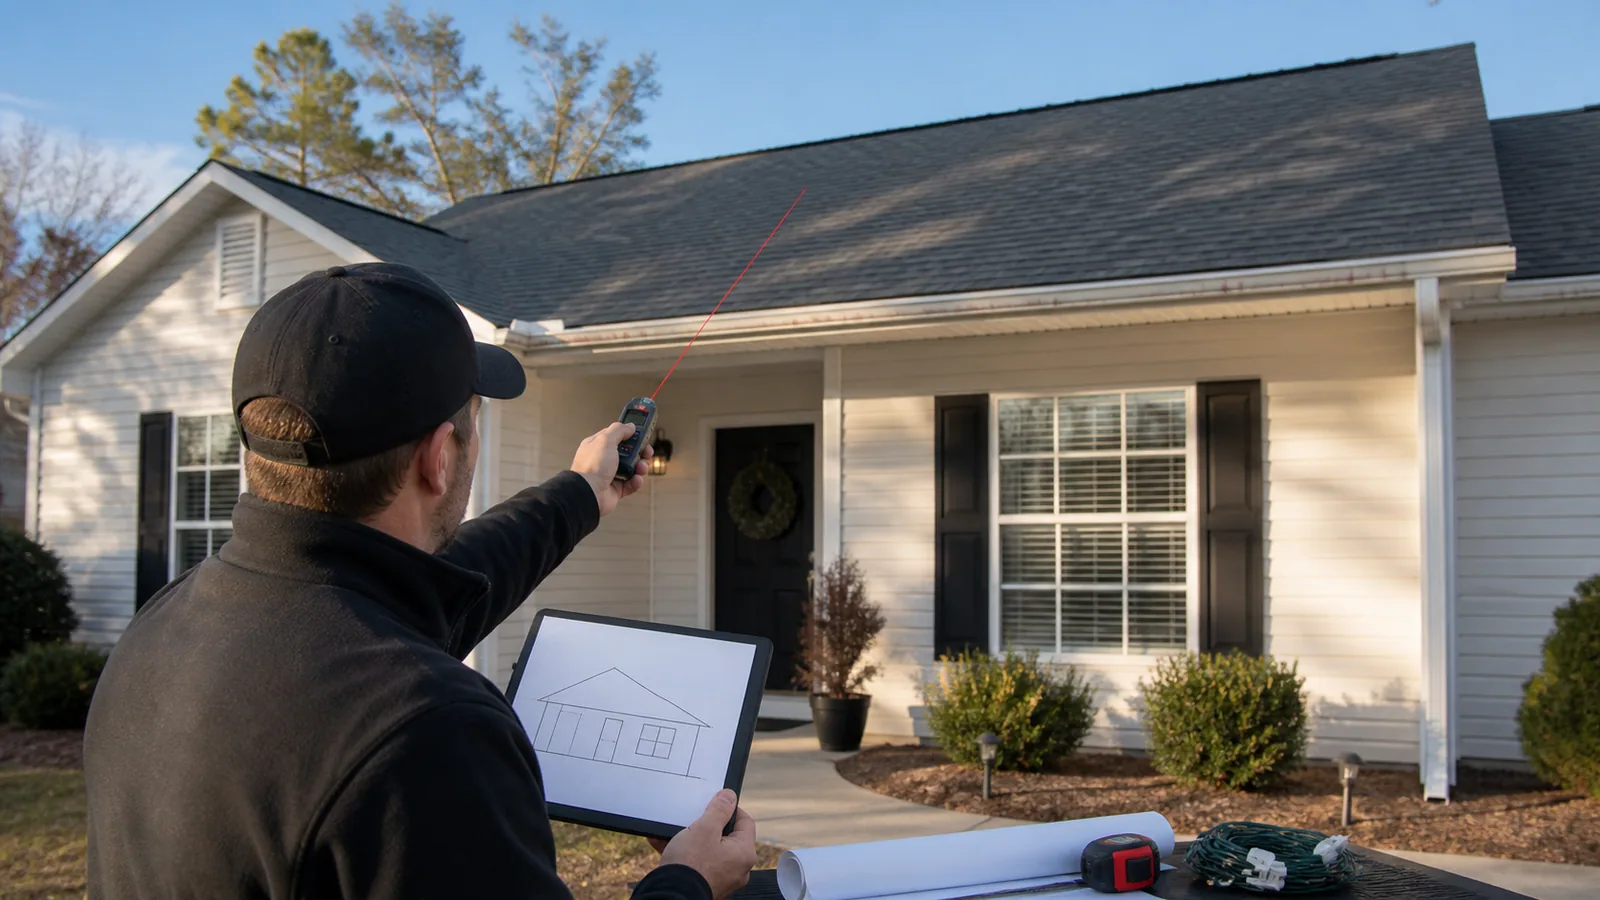
Ask the customer:
- What is the address?
- How many stories does the property have?
- Which rooflines, peaks, columns, shrubs, and trees do they want lit?
- Are the lights customer-owned or contractor-supplied?
- Where are the outdoor outlets, and are they GFCI-protected?
- How high and complex is the roofline?
- Is safe ladder access available on every side?
- Was lighting installed there before?
- What installation date or window do they want?
- What removal window do they expect?
- Do they want off-season storage?
Ground-level photos can help you screen a lead, but an onsite inspection may still be necessary. A front photo rarely shows a walkout basement, steep side yard, overhead line, loose gutter, locked gate, or hidden outlet.
Simple hypothetical estimate
Suppose a one-story home needs a 120-foot supplied-light roofline, two small front peaks, four shrubs, a timer, removal, and storage.
| Service | Example price |
|---|---|
| Main roofline | $650 |
| Two front peaks | $150 |
| Four small shrubs | $120 |
| Outdoor timer | $35 |
| Takedown and labeled storage | $180 |
| Example total | $1,135 |
The written estimate should state the bulb color and type, areas included, ownership of materials, service-call policy, installation window, removal window, storage term, and conditions that could change the price.
Measure what you can safely measure, list materials, estimate crew hours for both visits, add travel and overhead, and include a reasonable allowance for breakage or callbacks. After the job, compare your estimate with the real result.
9. How Much Can a Holiday Light Installation Business Make?
Use gross-revenue math to plan capacity. Do not treat gross revenue as take-home pay.
| Completed jobs | Hypothetical average job | Gross seasonal revenue |
|---|---|---|
| 10 | $650 | $6,500 |
| 25 | $800 | $20,000 |
| 50 | $950 | $47,500 |
These examples are not promises. Fifty well-planned jobs in a tight service area are very different from 50 difficult homes scattered across several counties.
Lights, clips, cords, timers, advertising, labor, insurance, fuel, storage, callbacks, software, taxes, damaged materials, and equipment replacement all reduce profit. Contractor-supplied lights can create a larger first-year material bill. Customer-owned work may have a lower ticket and more testing problems.
A smaller schedule completed well can be more valuable than a packed schedule full of refunds and callbacks.
10. How to Find Your First Customers
Start with people and neighborhoods already close to your route.
Ask existing customers first
If you provide lawn care, landscaping, gutter cleaning, pressure washing, or handyman work, contact satisfied customers before the season gets busy. You already know the property and the customer already knows how you work.
Friends, family, and neighbors can help you build your first real before-and-after photos. Be honest about being new. Do not invent experience or reviews.
Build a local presence
Set up a complete Google Business Profile with the correct business name, phone number, service area, hours, services, and real photos. Post in neighborhood Facebook groups when the rules allow it. Nextdoor may also be useful in areas where homeowners use it.
Door hangers and yard signs can work where you already serve. Get permission before placing a sign. Use clear photos of real work.
Referral discounts can help if the numbers still work after materials and labor. Another approach is to offer nearby appointment windows to several households on the same street.
Route density matters. Three homes in one neighborhood reduce drive time, ladder loading, and fuel. Target a small group of neighborhoods early instead of chasing every lead across town in late November.
11. How to Do the Job the Right Way
Use the same basic workflow on every property.
Before the job
- Confirm the design, price, ownership terms, and appointment window.
- Check weather and daylight.
- Review the property photos and access notes.
- Test lights, timers, cords, and replacement parts.
- Load materials by customer and job area.
When you arrive
- Walk the property before unloading the ladder.
- Check the ground, roofline, outlets, power lines, gates, pets, and landscaping.
- Confirm the design with the customer.
- Photograph pre-existing damage and the work areas.
- Protect plants and keep the setup area clear.
During installation
- Follow ladder, lighting, clip, cord, and timer instructions.
- Test sections before installing them.
- Keep bulbs aligned and spacing consistent.
- Route cords away from walkways, water, doors, and moving equipment.
- Keep tools and packaging out of customer paths.
- Stop if weather or site conditions become unsafe.
Before leaving
- Test the complete display and confirm timer settings.
- Check the result from the normal street and driveway view.
- Schedule a nighttime check if the design needs it.
- Photograph the completed work.
- Clean up clips, wire pieces, packaging, and tools.
- Explain how service calls work and confirm the removal window.
A good installation is straight, secure, easy to operate, and leaves the property clean.
12. Scheduling the Holiday Rush
The holiday rush becomes difficult because many customers want work during the same few weeks.
Group installations by neighborhood and property type. A crew that stays in one subdivision can finish more safely and predictably than a crew crossing town between every job.
Leave weather buffers in the calendar. Do not promise every open hour. Wind, rain, ice, equipment trouble, a sick worker, or a job that takes longer than expected can shift the rest of the week.
Track installation and takedown as separate appointments. Record the promised window for each one. A completed install is still an unfinished obligation until the lights are removed, checked, labeled, stored, or returned.
Set a maximum number of jobs based on real crew capacity, daylight, and storage. Keep design photos and material lists with each customer record.
13. Takedown, Storage, and Next-Year Reinstallation
Takedown is part of the service, not an afterthought.
Give customers a removal window before installation. Weather may affect the exact date, but the customer should know whether you expect to return in early January, late January, or another agreed period.
Remove lights carefully, test questionable sections, and replace or mark damaged components. Do not throw several customers' materials into one bin.
Use customer-specific totes or clearly separated sections. Label the property, roofline section, bulb color, wire color, cord route, and installation order. Keep strands organized and dry before closing the tote. Store bins off the floor in a clean, dry place that does not exceed product storage limits.
Save roofline measurements, design photos, special clips, timer settings, difficult access notes, install time, and removal time. Put a reminder on the calendar to contact the customer before the next season.
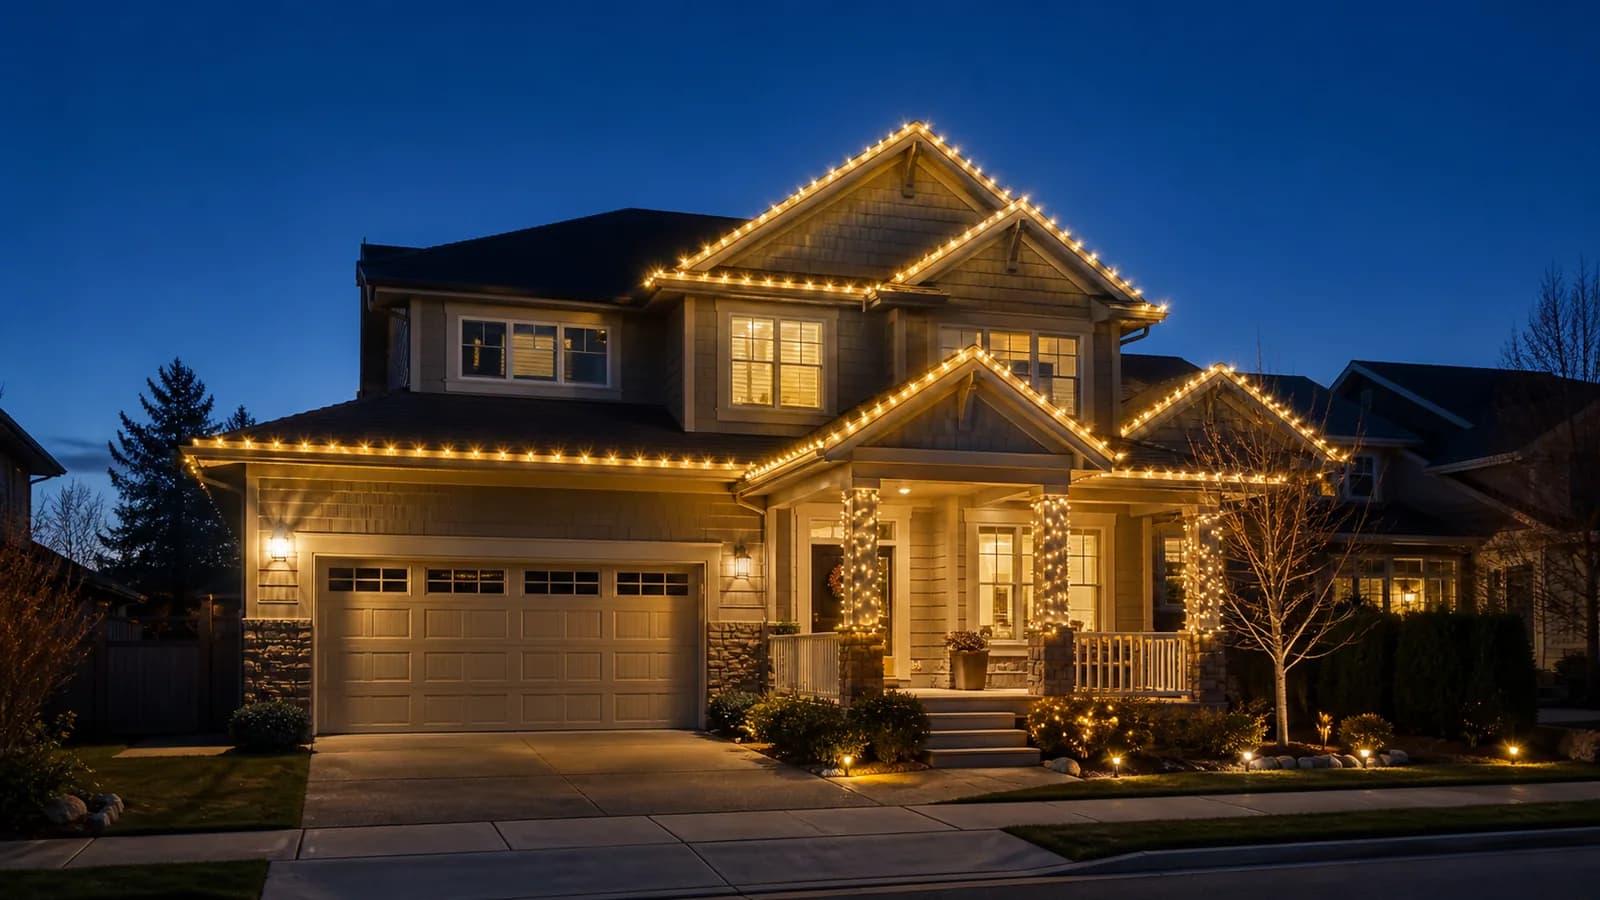
The next season, you should know what to load and how the display fits before arriving.
14. Working Alone or With a Small Crew
Many installers start alone, but solo work has limits. You handle driving, ladder setup, testing, installation, ground cleanup, customer communication, photos, and billing.
A trained ground helper can prepare materials, organize roofline sections, manage the work zone, move tools, watch for people and pets, take photos, and help with ladder handling according to training and manufacturer instructions.
Assign roles before the job. One person should not assume another person tested the lights, confirmed the timer, or loaded the takedown labels.
Track each worker's job assignment and time. This shows which designs are taking too long and whether your estimates cover labor.
Provide new workers with appropriate training, supervision, and equipment. Anyone should be able to stop unsafe work. Hiring also creates payroll, tax, workers' compensation, and safety responsibilities.
15. Getting Repeat Customers
The recurring nature of holiday lighting can reduce the need to find a brand-new customer for every job.
For each property, save:
- Customer name, address, and preferred contact method
- Finished photos and design notes
- Roofline measurements
- Bulb color, size, spacing, and wire color
- Clip and cord types
- Timer model and settings
- Price and package terms
- Installation and takedown time
- Difficult access areas
- Install and removal dates
- Storage bin and location
Contact customers before the next season while your calendar still has room. Confirm whether they want the same design, a color change, or an added area. Reinspect the property rather than assuming nothing changed.
Good repeat service means arriving with the right labeled materials and making the second year easier.
16. Staying Organized With Shookio
A few installations can be handled with texts, a calendar, and notes. It gets harder when estimates are waiting for approval, dozens of addresses need installation dates, workers need assignments, weather shifts the schedule, materials are tied to specific properties, takedowns overlap, invoices remain open, and past customers are due again.
Shookio gives service businesses one place to keep customer information, send estimates, schedule jobs, assign work, track job status and crew time, and send invoices.
That can help a holiday lighting company see what is quoted, booked, in progress, finished, or awaiting payment without searching several message threads. Customer history and job notes also make returning work easier to plan.
17. Common Mistakes
Charging too little
A price that covers installation labor but ignores materials, removal, service calls, storage, and travel can lose money.
Taking unsafe houses
Decline properties that exceed your ladder, access, training, weather, or electrical limits.
Buying too much inventory
Start with a focused product line and confirmed jobs. Unsold colors and specialty products tie up cash.
Failing to test lights
Test before loading, before installing, and after completing each section.
Not defining ownership
The agreement should say whether the customer buys the lights or the contractor retains them.
Unclear takedown terms
State whether removal and storage are included and give a reasonable service window.
Having no minimum price
Even a small job needs communication, travel, setup, testing, cleanup, and billing.
Overbooking November and December
Leave space for weather, callbacks, and jobs that run long.
Poor labeling and storage
Unlabeled strands cost time and create mistakes the next year.
Ignoring callbacks
Define your response policy, keep replacement parts, and communicate when weather delays a visit.
Failing to document each design
Photos and measurements are what make a repeat install repeatable.
Driving too far between small jobs
A tight route protects both time and margin.
18. Holiday Light Installation Startup Checklist
Business
- Choose and check a business name.
- Review state and local registration rules.
- Open a separate bank account.
- Get insurance quotes for the exact work.
- Prepare written estimate and agreement terms.
- Set up expense, mileage, and tax records.
Equipment
- Correct extension and step ladders
- Ladder stabilizer where appropriate
- Outdoor-rated lights, cords, clips, and timers
- Compatible replacement bulbs and parts
- Testing tool and basic hand tools
- Gloves, safety glasses, and work boots
- Totes, labels, and a dry storage area
- Safe ladder and material transport
Pricing
- Choose customer-owned, supplied-light, or both models.
- Set a minimum job price.
- Calculate material and labor costs.
- Price installation and takedown.
- Define maintenance and storage terms.
- List conditions that require an onsite quote.
Marketing
- Contact past outdoor-service customers.
- Complete a Google Business Profile.
- Photograph real finished work.
- Choose a tight service area.
- Prepare a simple door hanger or yard sign.
- Ask permission before using customer property photos or signs.
Before the first job
- Inspect and learn the equipment.
- Review OSHA, manufacturer, and local safety requirements.
- Confirm the design and written price.
- Inspect the site and weather.
- Test lights, cords, timer, and spares.
- Confirm the outlet and cord plan.
- Create installation and takedown records.
- Leave time for cleanup and a final test.
19. Frequently Asked Questions
How much does it cost to start a Christmas light installation business?
A lean customer-owned-light setup may cost roughly $1,075–$3,850 or more. A contractor-supplied setup may cost about $2,300–$8,750 or more because lights, cords, clips, timers, spares, and storage add up. Existing ladders, tools, and a suitable vehicle may lower the cost. Insurance and local fees vary.
Is Christmas light installation profitable?
It can be profitable when prices cover materials, both visits, service calls, labor, insurance, storage, travel, taxes, and replacement equipment. A full calendar does not guarantee a profit if jobs are underpriced or spread too far apart.
How much should I charge to install Christmas lights?
Current consumer guides show broad ranges, including roughly $2–$5 per linear foot for some simpler work and $5–$12 per foot for more inclusive or complex packages. Use local costs, property difficulty, materials, removal, and service terms to build your own price instead of copying one national number.
Should I provide the Christmas lights?
Providing lights gives you more control over fit, appearance, parts, and repairs, but it requires more cash and storage. Installing customer-owned lights costs less to start but can create testing, matching, and reliability problems. Both models can work with clear terms.
Do I need insurance to install Christmas lights professionally?
Talk with a licensed insurance agent before taking paid jobs. Explain the ladder heights, roof access, electrical products, workers, vehicles, inventory, and storage involved so the agent can discuss the coverage you may need.
Can I start a Christmas light business by myself?
Yes, on manageable properties within your training and equipment limits. A trained helper can improve material preparation, work-zone control, and ladder handling. Do not take difficult houses merely to prove you can work alone.
When should I start advertising Christmas light installation?
Many businesses begin contacting past customers in late summer or early fall and increase marketing in September and October. Starting early helps you group neighborhoods and avoid filling the calendar with scattered last-minute jobs.
When do professional installers normally put up Christmas lights?
Residential installation often begins in October and becomes busiest in November, although timing varies by region and customer preference. Some customers are happy to install early and leave the lights off until a chosen date.
Should installation and takedown be included in one price?
They can be bundled or listed separately. Either approach is fine if the written estimate clearly explains the total price, payment timing, removal window, storage, and what happens if the customer cancels takedown.
What happens if a bulb or strand stops working?
Set a service-call policy before installation. Explain response times, weather delays, included repairs, and whether the policy differs for contractor-supplied and customer-owned lights.
How do I store customers' Christmas lights?
Remove them carefully, make sure they are dry, organize each roofline section, label customer-specific totes, record damaged parts, and store everything in a suitable dry location. Save the design and bin location with the customer record.
Can a lawn care or landscaping company add Christmas light installation?
Yes. The service can fit the slower mowing season and existing customers are a natural starting point. Confirm that insurance, worker training, equipment, scheduling, and agreements cover the new service.
20. Final Thoughts
Start with houses you can handle safely. Price the complete service, not just the time spent clipping lights to a gutter. Avoid buying a warehouse of inventory before you know what customers want.
Document every design, keep a tight service area, and leave room for weather and callbacks. A neat one-story installation completed on time is a better foundation than an elaborate job that strains your equipment and schedule.
Repeat customers are where organization begins to pay off. Save measurements, photos, materials, timer settings, install dates, removal dates, and storage locations. Contact customers early the following season.
As the route grows, Shookio can help keep estimates, customers, scheduled work, crew assignments, time, and invoices together. The fundamentals still matter most: work safely, communicate clearly, and make the next year's installation easier than the first.
Related Guides
Compare Shookio plans for organizing estimates, schedules, crews, time, and invoices.